Thursday, December 24, 2015

Merry Christmas Eve!


Hello friends! I hope you are all having a lovely week so far. I can't believe it is already Christmas Eve! Where has 2015 gone?! Today I wanted to share some pictures from our home to show you what Christmas looks like at the Littlejohn's. 

I also wanted to take a quick minute to thank you all for reading my blog and supporting me in this new journey. I hope to make 2016 a great year for this little space of mine and I hope you'll join me for that journey. I also just wanted to take a second out of my busy day to remind ya'll (and myself, really) what this season is about.

It is so easy to get wrapped up in the activities and gifts of this season that we forget what it is really all about. We need to take a minute to stop and think about God sending His son to this world to save us all from our sins. The perfect, unblemished, Holy and blameless child of God was sent to us to bear our sins so that we may live in eternity with our God. WOW. Take a minute to soak that all in and realize that God loves you that much

So here is a sneak peak into the Littlejohn house this time of year. If you have any questions about decor please comment or shoot me an email and I'll be glad to tell you! 


This tree is at the end of the hall upstairs. It has mainly blue, pink, and purple ornaments with some red snowflakes to really brighten it up!


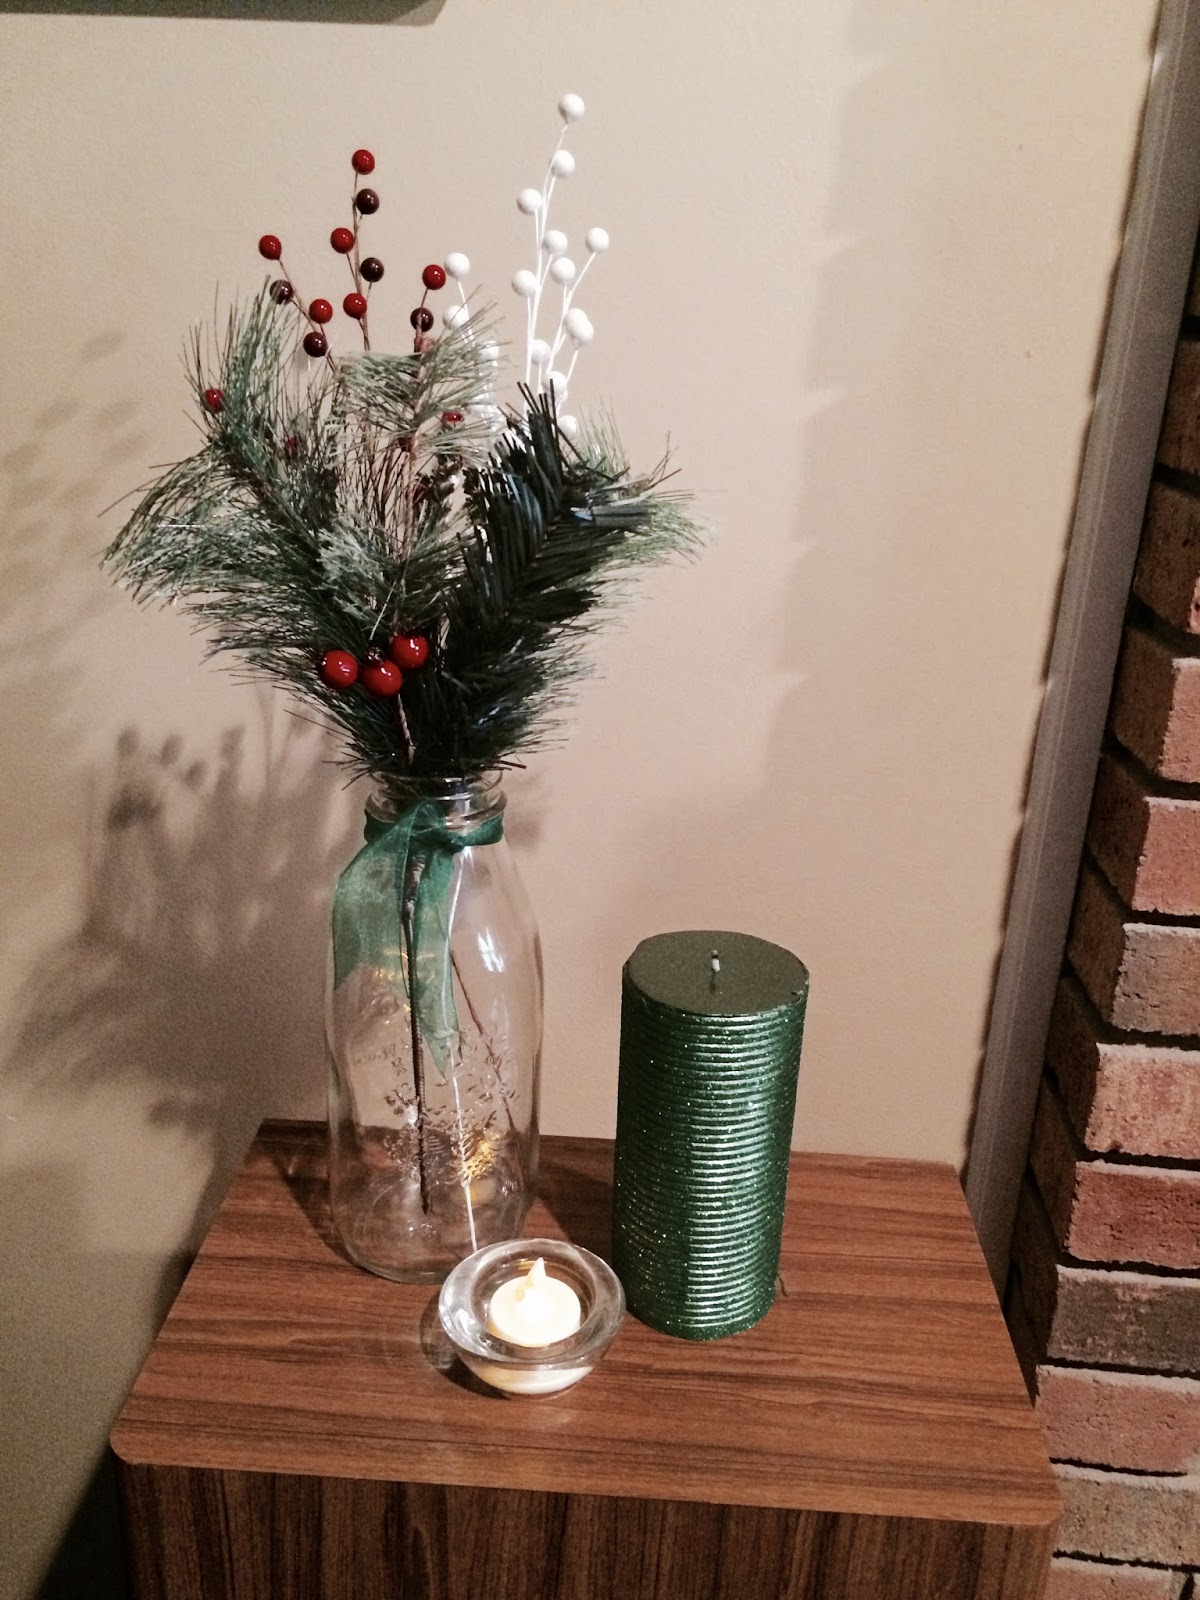
This little set up is on the counter in our hall bath that my mom and I share.


I LOVE our Christmas dishes. Mom has had them for years and they are so simple but so beautiful.


These are the little things we have placed on the stereo speakers right next to our fireplace.


Our big Christmas tree. I love it because although it isn't real, some of its branches look like they are real. 
(Dad is allergic to real trees so we can't have one in the house)


This is our white tree downstairs. It is adorned with all gold or clear ornaments and gold ribbon. Out faux fur tree skirt is new this year and I LOVE IT!


Our fireplace with stockings hung by the chimney with care! And an up-close of the greenery on the mantle.


And finally, our dining room table. My mom says she's no good at decorating but clearly that is not a bit true!

I wish you all a very Merry Christmas! I pray God blesses you with lots of love and laughter with your friends and family! And I pray for safe travels for anyone traveling during this busy holiday season! 

Thanks for stopping by!

Gracefully,
Anna


Monday, November 23, 2015

Thanksgiving Outfit Idea


Hello and happy Monday, ya'll! I hope you all had a great weekend. I am so excited for this week because Thanksgiving is one of my favorite holidays. I love being able to gather with family and friends to remember everything we have to be thankful for.


I wanted to put together a casual outfit that is cute and comfortable for Thanksgiving Day. This top is probably one of the softest things I own. I have it in the red wine vinegar color as well. I love it because it is a tad oversized, which makes it perfect for eating lots of good food.

I have had these Levi's for probably 5 years now. They are so stretchy and comfortable. Again, perfect for all of your Thanksgiving meals. I just added this knit scarf for a pop of color. And the riding boots were an easy pick to complete the look. 

I actually wore this exact outfit last week when I went to the Southern Christmas Show. It was great for a day full of walking around.

(The scarf was from last year so I linked a few similar ones at different prices!)
Boots (in color Cognac) // Similar Jeans // Similar scarves herehere, & here // Top 

If you're looking for more fall outfit inspiration check previous posts : Plaids & Greens

Speaking of being thankful, I am so thankful to have this space as a creative outlet. I am thankful for all of you for reading and thankful for your support. I am thankful for my family, friends, and faith. I hope you all enjoy your Thanksgiving.

Thanks for stopping by!

Gracefully,
Anna


Monday, November 9, 2015

Homemade Hot Chocolate


Happy Monday ya'll! It's a rainy, dreary day here in Locust. I hope this recipe will warm you right up!
Today I have my Mom's famous homemade hot chocolate recipe to share with ya'll. This hot chocolate is better than any you can buy in the store, at least in my opinion. The best part is it only has 4 ingredients! My sweet Mom makes it every year around this time and keeps some for us at home and occasionally gives it as a gift. 


Ingredients:
25 oz. box powdered milk
32 oz. Nestle Quick
16 oz. nondairy powdered coffee creamer
1/2 cup powdered sugar
P.s. If you can only find containers of these ingredients with a little extra or a little less, it will work just fine! The measurements don't have to be exact.
Directions:
Combine all ingredients in a large bowl
(My mom has always used her large Tupperware cake carrier)
I used a whisk to make sure it all gets combined really well. Then I put the lid on and shook it up a little.

That's it! So easy isn't it?!

When you're ready to make a cup for yourself, put 1/3 of a cup of mix in your mug and fill the rest with hot water!

One of my fondest memories from freshman year of college was sharing a cup of hot chocolate with my roommate, Molly. It was such a comfort that reminded me of home. Molly LOVED this stuff. Those were some good times. So here's the recipe friends! I hope you love it as much as I do!

I decided to doctor mine up a little by adding just a little bit of Bailey's and topping it with whipped cream and chocolate syrup! I have to give my brother, Josh, some credit, the Bailey's and the deliciousness on top were all his idea!

P.s. If you're looking for a great blog to read, my brother is pretty good at writing. Check him out here!

I hope ya'll enjoy! Comment below to let me know what you think!

Gracefully,
Anna

Monday, November 2, 2015

Pumpkin Spice Chocolate Chip Cookies & Easy Iced Mocha

Hey friends!

It has been a hot second since I posted, I apologize. Anyways let's jump right into this post today.
I am so excited to be brining your 3 super easy recipes. If I haven't already said it, I love fall. So naturally I love most pumpkin recipes. Today I have a pumpkin spice cookie recipe, a super easy iced mocha recipe, and a homemade pumpkin pie spice recipe for you guys.
These were probably the easiest things I have ever made. 

Let's dive right into these cookies. Guess what ya'll! There's only 3 ingredients! So, so easy!

Pumpkin Spice Chocolate Chip Cookies
Ingredients:
1 box of Spice Cake mix, unprepared
1 (15 oz.) can pumpkin puree (make sure it's not pumpkin pie filling)
1 bag mini chocolate chips

Instructions:
Preheat oven to 375 degrees.

Mix together cake mix and canned pumpkin. I just used the hand mixer which made it super easy. 

Fold in chocolate chips. I only used about 3/4 of the bag because it seemed like the whole bag would be too much and 3/4 ended up being perfect!

Drop cookies onto cookie sheet using tablespoons.

Bake at 375 degrees for 10 minutes! 
I let them cool on the pan for a couple of minutes then put them on a cooling rack before storing.

That's it ya'll! How easy was that!?

Pumpkin Pie Spice
Ingredients:
4 Tbsp ground cinnamon
3 tsp ground ginger
3 tsp ground cloves
4 tsp ground nutmeg
1 tsp ground all spice**

** So when I went to look in the spice cabinet for all of these spices I had all of them except ground allspice. So I put that on my grocery list. When I got home I started taking my pictures and realized I ended up buying more ground nutmeg. Ha! So I ended up just putting a handful or so of whole allspice in the spice/coffee grinder and grinding it up in there. It worked out perfectly!

Instructions:
Combine all of the spices and stir well until mixed through. 
I stored mine in a jar I found in the cabinet.

It smells heavenly!

Easy Iced Mocha
Ingredients:
Ice
Coffee (I made my coffee first thing in the morning then let it cool)
Half and Half
Chocolate Syrup
Whipped Cream

Instructions:
Fill glass, or in my case a mason jar, half full of ice
Pour in coffee, about half full
Add as much half and half as you want (the more you add, the creamier the drink)
Add chocolate syrup to taste
Stir well
Top with whipped cream and chocolate syrup


I hope ya'll enjoy all of these recipes! Comment to let me know if you try any of them!

Gracefully,
Anna

Thursday, October 8, 2015

Fall Wreath DIY


Hey there! I am so excited about this post. I had so much fun writing it and making the wreaths. I was inspired one afternoon to brighten up our front doors for the fall season. So naturally I went to Pinterest and looked at a ton of wreaths. I found one on there and loved it so much I had to recreate it for myself! I absolutely loved how it turned out and if ya'll try this at home I hope you love it too!       

At first I was a little intimidated about having to put all of this together. I have never made a wreath before. But my mom was excited about hanging them on the doors so she was willing to go to Hobby Lobby with me and help me gather everything.

I found the wreath and all of the accessories for it at Hobby Lobby. I already had the floral wire, scissors, paint, paint brush, and wire cutters at home. 


We found it easiest to pick out the wreaths and then kind of put everything together on it while we were in the store so we would know what we liked and what we didn't. It saved me a ton of time once I got home since I knew ahead of time what I wanted to do and was super helpful so I didn't have to make a trip back to the store.

There really is no rhyme or reason to how I put it together, like I said my inspiration was from Pinterest. I'll link to that tutorial below.

I just put the ribbon through the top of the wreath and tied a knot to use to hang it on the wreath hanger.

What you put in the wreath is really up to you and your personal preference.


I ended up mixing the colors "Buttermilk" and "Pure Pumpkin" together to achieve the orange for the "L." I think any of these orange colors would have looked great. I went with orange as opposed to a shade of red because I thought it would stand out more against the wreath and our black front doors.

Paints from left to right: Buttermilk, Jack-O-Lantern, Pure Pumpkin, Harvest Orange

To attach the "L" to the wreath I chose where I wanted it on the opposite side of the other decor. Then I twisted floral wire around it to attach it to the vines.


Not pictured was my hot glue gun that I used. I only used it to insert the green leaves into the red bunch of leaves to add a little pop of color. I also used it to attach the pine cones and acorns seen in a couple pictures above. Other than that, I just stuck everything in between the vines. It has held up nicely.


I am so pleased with how they turned out! I was worried you wouldn't be able to see them very well from the road but you can and I think they look great! I can't wait to make other wreaths for seasons and holidays to come. 

This is where I found my inspiration!

Comment below to let me know if you make a wreath for yourself and let me know how it turns out! Thank you so much for reading.

"Take a deep breath, it's just a bad day. Not a bad life."
-Unknown

Gracefully,
Anna

Thursday, October 1, 2015

Fall Trends Part 3

If you missed the first two parts of this series find them here: Plaids & Green

Hello everyone and happy Thursday! It is almost the weekend! I don't know about ya'll but I am so excited for Friday. I get to go to Boone this weekend to celebrate my first homecoming as an alumna of Appalachian State University.

This is the final part of my Fall Trends series. This post is a week late, I'm sorry ya'll! I was super busy with school last week. I think this might be my favorite trend. This week is all about the '70s! 
'70s Style


I love when trends from the past make their way back into present day. I think it is super fun to be able to wear things that people were wearing a few decades ago. In my personal opinion, trends go through a cycle and I am so excited that this '70s trend is making an appearance this fall. 

So I focused on a few main things you'll see this fall when it comes to the '70s trend. I focused on fringe, flare denim, bell sleeves, and a-line skirts. I am having a really tough time picking out a favorite from the pieces I've put together here. The best thing about these pieces is that the majority of them are $50 OR LESS. So with that being said my favorite piece is the flare denim from River Island. They are a little pricey but I believe in investment denim. If you invest, they will likely last you for years. They do come in a total of 6 colors. The color shown in the product photo is on sale for $40! My other favorite is the black top, which is only $39 (and comes in 3 colors)! I love these 2 pieces together. They'd be great paired with either of the fringe bags.

I also really love the suede skirt. It would be so cute with a turtle neck tucked in and some riding boots when the weather cools off a little. I just love that color. The a-line skirt is such a flattering cut and has aways been one of my favorites.

Comment below to let me know which of these pieces is your favorite!

"You may encounter many defeats but you must not be defeated."
-Maya Angelou

Gracefully,
Anna